Step 1:
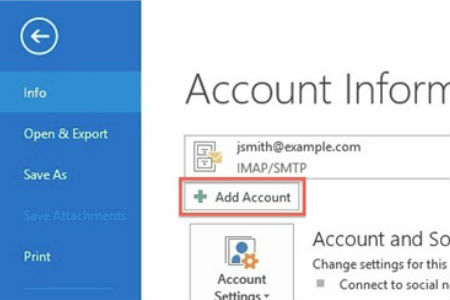
Open Outlook 2013, go to the ‘File’ tab, and select ‘Info,’ then click ‘Add Account.’
Step 2:
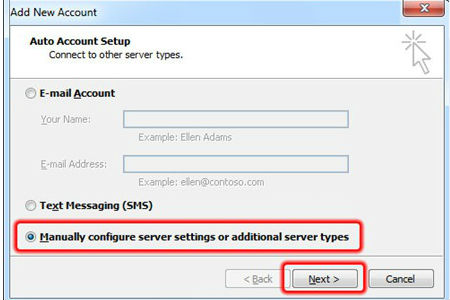
Check the ‘Manually configure server settings…’ option and select ‘Next.’
Step 3:
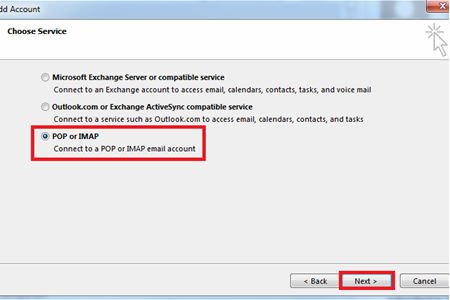
Select ‘POP or IMAP’ from Service Type list and hit ‘Next.’
Step 4:
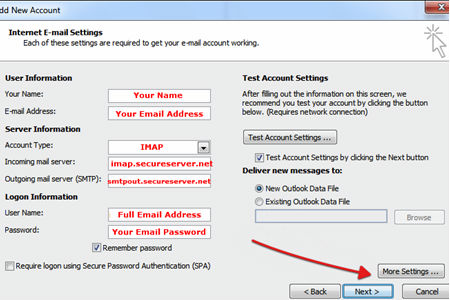
Input the email server settings using the instructions listed very closely, then click ‘More Settings.’
Step 5:
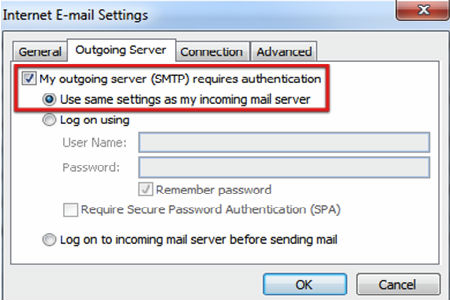
Select the two checkboxes listed and click the ‘Advanced’ tab to proceed.
Step 6:
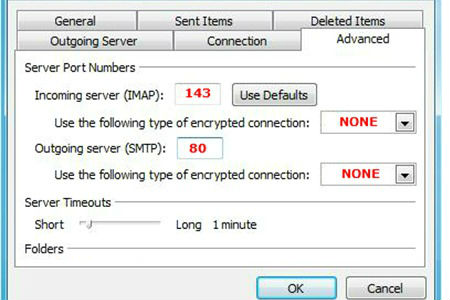
Adjust port settings and encryption type to reflect the listed values and click ‘OK.’
Step 7:
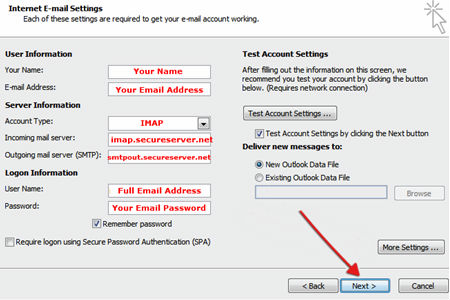
Verify settings appear as listed and click the ‘Next’ button to proceed.
Step 8:
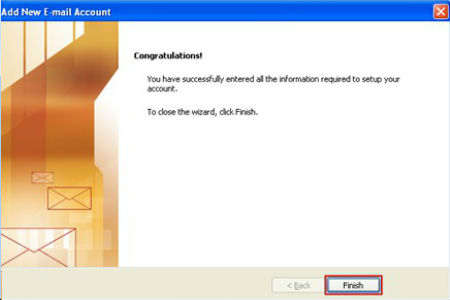
Select ‘Finish’ to complete setup and return to Outlook and use mail.