Step 1:
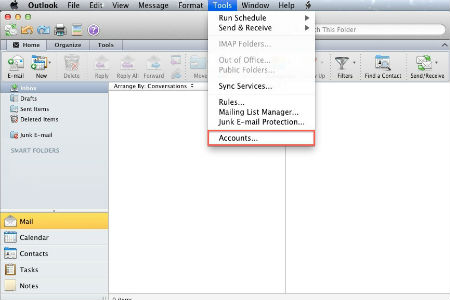
Open Outlook 2011 for Mac, go to the ‘Tools’ menu and select ‘Accounts.
Step 2:
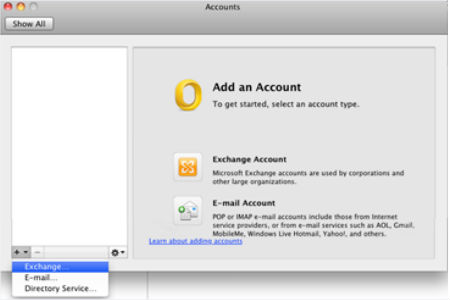
From the Accounts page, check the plus button in the bottom left and select ‘Exchange’ for the account type.
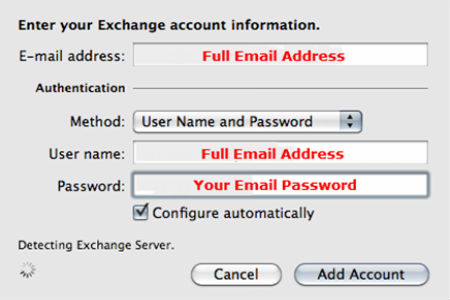
Step 3:
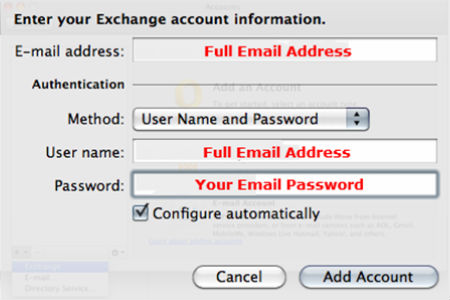
Input the server settings listed using the instructions above very closely then click the ‘Add Account’ button.
Step 4:
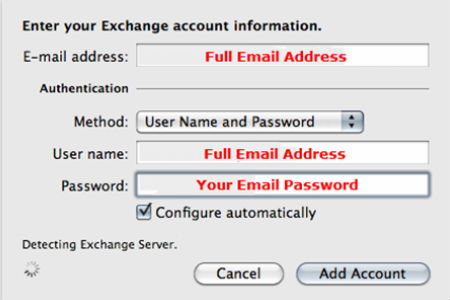
Allow the setup to Detect the Exchange Server. This will show a progress bar in the bottom left.
Step 5:
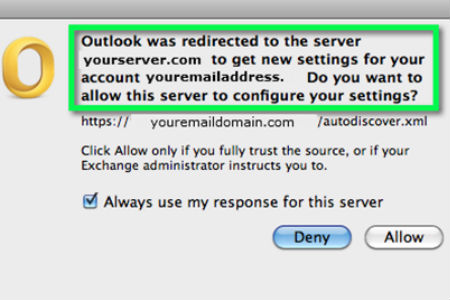
A message will appear asking you to Allow the auto-configure function. Click ‘Allow.’
Step 6:
Allow Outlook to finish Detecting the settings. This should happen automatically.
Step 7:
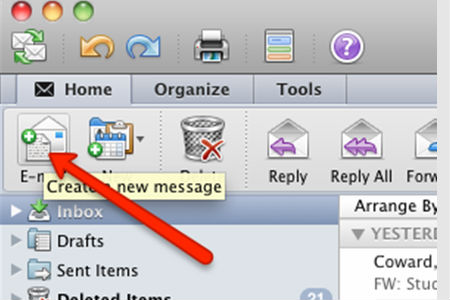
Send a test message to verify everything is working correctly with your new mail profile.